
Cleaning time comparison
Share:
-

-

-

-


Copied
Share:
-
-
-
-
Copied
Home Slush Machine Time Comparison
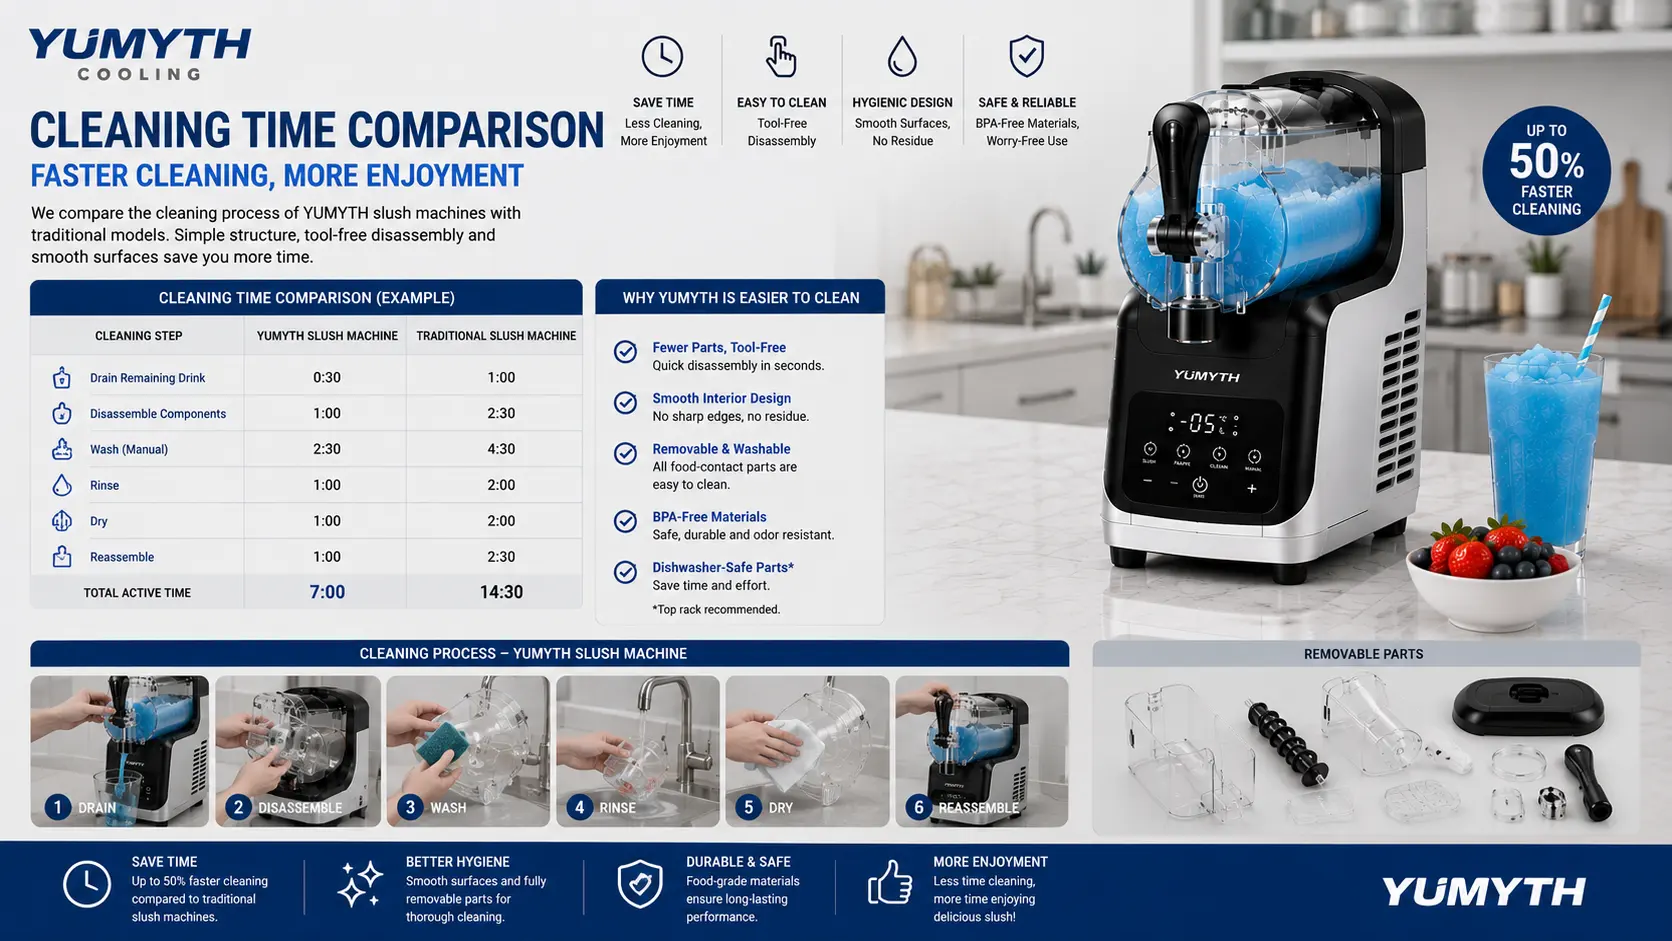
The cleaning time is a key but understated performance metric for home slush machines. Even if a frozen drink takes a while to prepare, consumers will likely accept this if it is easy to clean, but they will not use an appliance on a regular basis if the cleaning process is complicated, residue is difficult to reach, there are multiple brushes or reassembly is difficult.
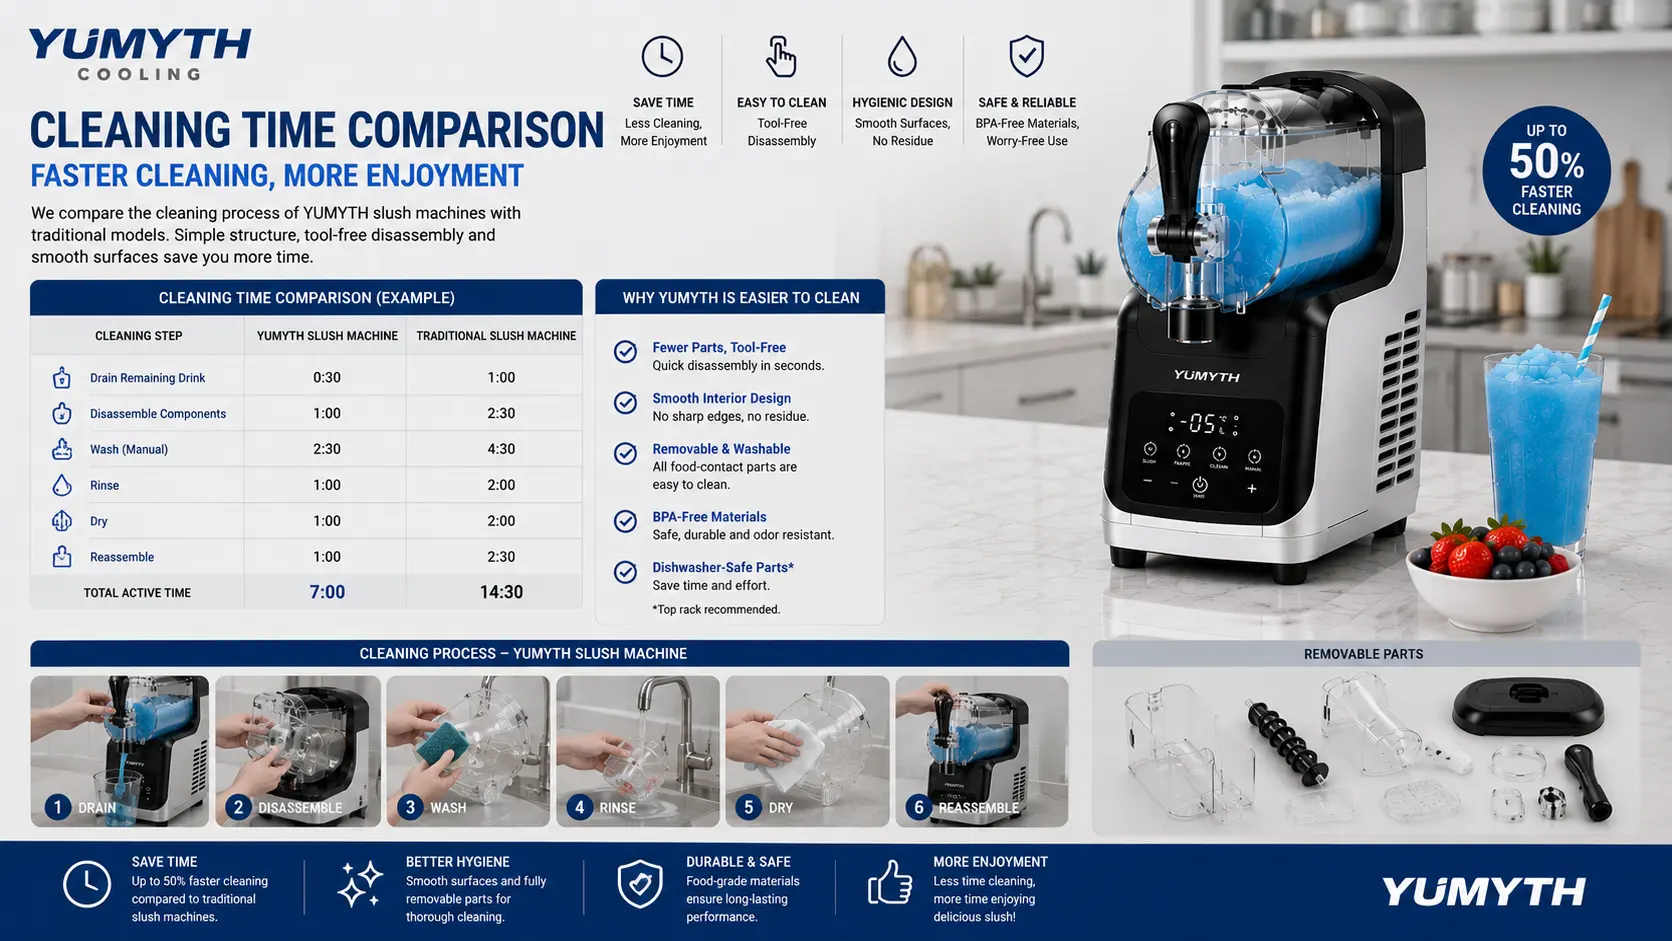
A claim like “easy to clean” is not as useful as a cleaning time comparison for the appliance brand and/or OEM manufacturers. A professional test should evaluate all steps of the process, all types of beverage residues, and that the appliance can be safely reassembled after washing.
Since no specific product model or laboratory data is listed here, the following framework provides an explanation on how cleaning time should be tested and compared without using invented results.
The reasons cleaning time is important.
Sugar syrup, fruit juice, coffee, food coloring, alcoholic drinks and dairy mixtures can be made in a home slush machine. The ingredients can be left in or around the beverage tank, auger, seals, dispensing valve, nozzle, lid and drive connection after use.
As sugar residue dries it can get sticky. There are areas where dairy ingredients and fruit pulp can get trapped, and coloured drinks can discolour transparent parts. Effective residue removal is necessary for preventing odors, leakage, difficult assembly or reduced product performance.
Guidance from FDA focuses on the need to clean and sanitize food-contact surfaces to prevent contamination, if needed. Cleaning with sanitizing is a complete process that eliminates food residues and other soil, and sanitizing is an additional step on a clean surface.
The speed of clean is not, therefore, to be judged by how effective the cleaning is.
Outline the purpose of the comparison.
Test objective should be set prior to the use of the appliances.
A comparison of cleaning times can be drafted to:
- Compare two structures of slush machines;
- Assess a new removable tank or auger;
- * Ensure that a marketing statement is correct;
- * Determine factors that make it hard for users:
- * contrast either manual or automatic clean with the automatic rinse cycle;
- - Measure production sample production against a reference unit;
- Upgrade the manual of instructions;
- Compare cleaning following various recipes.
The test should also specify whether it is measuring active labour time, elapsed time or both.
Active cleaning time is the time the user spends emptying, disassembling, cleaning, brushing, rinsing, drying and re-assembling the components. Soaking, dishwasher usage, air drying and automatic cleaning programs can also be part of the elapsed time.
Do not add these together as a dishwasher cycle might be able to be done with little active work but still consume a lot of time.
Reduce the variety of the beverage residues.Minimize variability of beverage residues.
The appliance should be tested after a specific recipe and not after an unknown beverage.
A practical test program includes but is not limited to:
- A typical sugar water mixture;
- A coloured fruit drink;
- A beverage with pulp in it;
- Use of a dairy-based recipe where supported;
- A beverage of coffee or cocoa, or similar, sweetened with sugar;
- A drink of booze, with support.
The recipe varies, thus the cleaning challenge varies. Easily rinsed sugar solution and dairy fat may not need as much brushing as particles of fruit or concentrated coloring.
The recipe should be written in full, Brix value, fill volume, operating program, holding time and time between dispensing and cleaning should be recorded in the report. Soaking the machine for 30 minutes to allow the residue to dry will give a different test than washing the machine right after it is used.
The same recipe and conditions should be used for every comparison unit.
Set Cleaning Endpoint
The test requires a clear definition of “clean.”
If the component looks OK from a distance, it is not necessarily clean. This evaluation needs to check food contact surfaces, seal grooves, auger connections, valve passages, tank corners and dispensing outlets.
Some examples of what might be accepted are:
- No residue on the surface of the glass;
- Does NOT stick to a dry surface;
- * No pulp remnants or pulp particles;
- *No trace of the smell of any drinks;
- * No noticeable colour bleed;
- Rinse the water out after the last wash;
- - Correct operation following assembly; and
- No water leakage during a water test, follow-up.
NSF food-equipment certification takes into account the probability of retaining contamination, hygienic design, cleanability, construction and material safety. This proves the point of the importance of assessing the time it takes to clean as well as the ultimate cleanliness of the design.
Break down the process into measurable steps.
It is a good idea to have a comparison that shows only one total time. Breaking it down into steps will enable the engineers to know where the design is making unnecessary work.
1. Beverage draining
Time how long it takes to pour or take the rest of the beverage. Document if user needs to tilt the tank, use the auger or manually remove residue.
2. Initial rinse or automatic clean cycle
There's also a warm-water automatic rinse mode on some machines that spins the auger to rinse. The test should capture the amount of water in the system, the duration of the program, interaction with the system and the residual amount of residue.
Automatic cycles should not be assumed as a complete cleaning cycle. There may be parts that can be removed that still need to be disassembled and washed.
3. Component disassembly
Note the time it takes to remove the tank, lid, auger, seals, dispensing valve, nozzle, drip tray and other washable parts.
The observer should record any situations involving the use of difficult locking mechanisms, too much force, excess liquid, small loose parts and beverage dripping into the machine base.
4. Manual washing
Use a specific water temperature, detergent, sponge and brush to measure washing time. All operators should adhere to the same written procedure.
5. Rinsing
Note the time and estimated amount of detergent and loosened residue needed for removal.
6. Drying
Minimize active towel drying time and passive air drying time. Water can be trapped in components that have hollow sections, deep grooves or inadequate drainage.
7. Reassembly
Record the time it takes to get all parts back in place and to set up the appliance for use.
8. Post-cleaning inspection
Check for residue, seal misalignment, improper assembly, leakage and abnormally moving augers.
Compare the features of Automatic Cleaning vs Full Cleaning.
The first stage can be made easier by using an automatic cleaning program but it is not washing.
Three methods can be compared, such as:
Quick rinse: Water is filled in and automatic cleaning function is applied.
Standard manual cleaning – machine is drained, disassembled, cleaned, rinsed, dried and reassembled.
Dishwasher-assisted cleaning: Removable components that can go in a dishwasher are washed in the dishwasher, and the rest of the appliance is washed by hand.
It should indicate which areas are safe for the dishwasher and if multiple dishwashers exposure has been found to be safe. Plastic may get clouded, warped, damaged by printing on, damage to the seals or loss of mechanical strength when exposed to heat and detergent.
NSF says dishwasher sanitising performance of dishwashers is tested to NSF/ANSI 184, but a removable dishwasher component should only be called dishwasher safe if the material and durability of the specific component has been tested to this standard.
Assess User Effort as well as Time
Total cleaning time may be the same for two designs, but the user experience is very different.
The test team should record:
- * Number of holes; and
- * Number of tools for performing the cleaning task; and
- Number of steps needed to assemble the product;
- * Diameter of tank; and
- * Difficulty removing seals;
- * Need to hold parts under running water;
- * Amount of splashing;
- * Risk of falling from great heights; and
- Possibility of misplacement of small parts;
- * Need to consult the manual.
Saving a minute in a design, but asking the users to deal with multiple small seals might not be a worthwhile design change.
Video footage may be useful for the engineers to review hand movement, hesitations, repeated attempts, and wrong assembly.
With Multiple Test Operators, you can achieve the following:
The process of cleaning time may be determined by user familiarity. A designer engineer may be able to do the process much quicker than a first-time consumer.
Testing should, therefore, encompass:
- * Experienced operators;
- * First-time users;
- * Users who are reading the instructions for the first time;
- The "Users" are those who have followed a short demonstration video.
The tools and cleaning directions must be the same for each participant. The report should report average times, minimum, and maximum times, and common errors, not the fastest.
The learning effect should also be assessed. You can judge how easy or hard the process is to understand from the first, third and fifth cleaning cycles.
Analyze the design of hygienic problems
Long cleaning times can be an indicator of a structural issue.
Common causes include:
- * Deep tank corners;
- * Narrow seal grooves;
- * Exposed threads;
- * Non-removable valves;
- * Areas with accumulated water;
- * Sharp internal transitions;
- * Textured food-contact surfaces;
- Augers that are not able to be set securely in a sink;
- * Uncut seals (no tabs);
- Parts that can be inserted backwards.
Equipment configurations that allow for access to clean equipment as recommended by FDA guidance should be implemented, while hygienic-design principles from NSF should focus on the surfaces' ability to be cleaned and the likelihood of contamination retention.
Larger internal radius, tool free removal, fewer loose parts, improved drainage, vent passages, open valve passages, replaceable seal modules and clear alignment markings are examples of engineering solutions.
Test Cleaning Durability
The quickest cleaning is not effective if the parts get damaged during multiple washing cycles.
The repeated should be included in a durability program:
- * Disassembly and reassembly;
- * Manual brushing;
- * Detergent exposure;
- Using the dishwasher, if available;
- * Seal removal;
- * Valve operation;
- * Drying cycles.
Following testing, components should be evaluated for cracking, warping, clouding, color change, odour retention, seal compression, reduced locking and scratches.
The entire appliance should then be subjected to a leakage and functional test.
Organize the Final Comparison Report
The following points should be taken into account in a professional cleaning time comparison:
- Model number and serial number;
- * Test operator experience;
- * Liquid to be mixed with a beverage recipe; and
- * Record flow and pause times; and
- * Time before cleaning;
- * Water temperature;
- * Detergent and tools;
- * Cleaning method;
- * Determine the timing for all the stages of a process;
- * Total number of hours in the working week;
- * Total elapsed time;
- * Water consumption;
- Number of parts that can be taken off;
- * Residue-inspection results;
- * Reassembly errors;
- * Leakage test results;
- * Photographs or video;
- * Final engineering conclusion.
Marketing statements must be on the full validated process. If someone has a claim like “cleans in 5 minutes,” they need to clarify if this is an automatic rinse or dismantling, washing, rinsing and reassembling.
Conclusion
Cleaning time comparison is significant to usability and hygienic-design of slush machine.
A dependable test provides the beverage recipe, the condition of the residue, the cleaning tools, water temperature, operator experience and the endpoint of the cleanliness. It divides any time spent active labor from elapsed time, and records all phases from draining to reassembly.
In the case of appliance brands and OEM manufacturers, the idea is to get the quickest possible cleaning time. Removing residue should also be effective, preventing trapped water, protecting electrical areas from drips and ensuring that every component is correctly reinstalled by the user.
A good cleaning system can improve customer experience, reduce warranty risk, increase product usage, reduce assembly errors, enhance hygiene and much more.
Related Articles
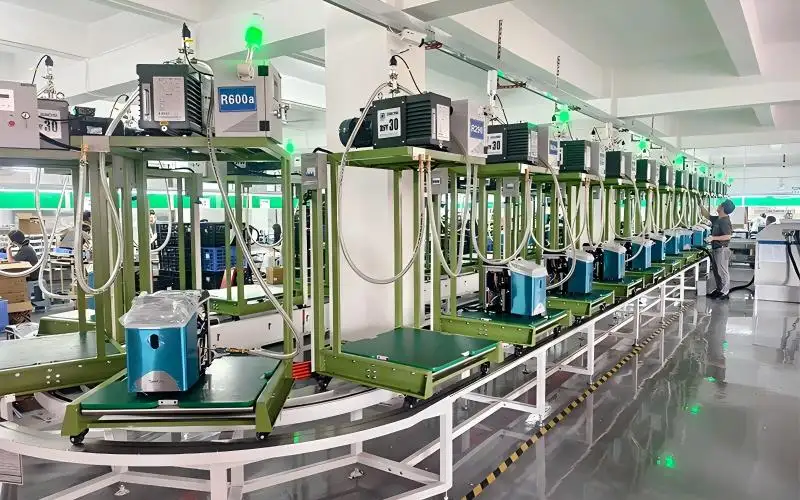
How We Test Every Ice Maker Before Packaging
2026-09-15
BY YUMYTH
A step-by-step look at refrigerant handling, cooling verification, leak detection, corrective action and electrical safety testing For an ice maker, reliable performance is determined long before the carton is sealed. ...
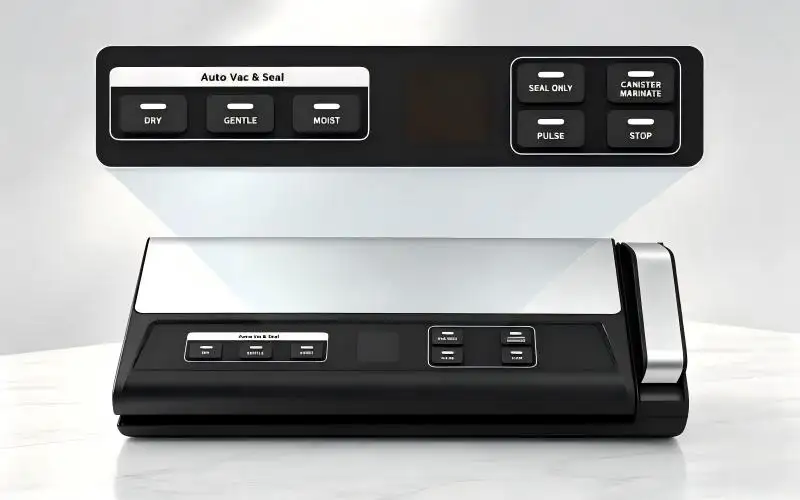
Guide for Brands Looking for a Reliable Vacuum Sealer OEM Supplier
2026-09-14
BY YUMYTH
When you are sourcing kitchen appliances for your retail brand, finding a dependable vacuum sealer OEM supplier is rarely just about getting the lowest unit price. It is about protecting ...

Why Ice Shape Matters: Understanding 10mm × 15mm Cylindrical Nugget Ice
2026-09-14
BY YUMYTH
More Than Ice Production — The Ice Itself Shapes the Consumer Experience When sourcing a nugget ice maker, buyers often focus first on production capacity, water tank size, ice basket ...

Ice Maker Sourcing Guide: How to Find the Right Factory
2026-09-10
BY YUMYTH
Sourcing an ice maker looks straightforward on paper. Find a supplier, agree on a price, place an order. But anyone who has actually done this knows the process is rarely ...